Gas Line and Venting Requirements for Tankless
Why tankless needs more gas than a tank, when a gas-line upgrade is required ($350–$2,000), and the difference between PVC and concentric stainless venting.
Why tankless needs more gas than a tank
Tankless units demand significantly more gas instantly because they heat water on demand instead of keeping a storage tank warm all day. We see this firsthand on nearly every job. A standard tank heater runs at roughly 40,000 BTU, while modern tankless models fire between 140,000 and 199,000 BTU at peak draw. That is a massive jump in fuel requirements.
Our tankless installation service confirms gas capacity as part of every estimate to prevent performance issues. The primary challenge is the gas line manifold itself. Most older US homes rely on a half-inch gas line running from the meter to the water heater location.
We frequently encounter utility meters rated for only 250 Cubic Feet per Hour (CFH) in residential neighborhoods. When you connect a 199,000 BTU water heater to a half-inch line on a standard meter, the system simply cannot pull enough fuel during peak usage.
The pressure drops rapidly below the manufacturer specification of 7 inches of water column. Modern smart units will immediately sense this low pressure and shut down as a safety precaution. You will often see a no-ignition warning, like a Rinnai Error Code 11 or 12, flashing on the digital controller.
When the gas line needs upgrading
You will typically need a tankless gas line upgrade if your current setup relies on a long, half-inch pipe shared with multiple appliances. Upgrading to a three-quarter-inch or one-inch pipe guarantees your new heater receives adequate fuel during peak winter months.
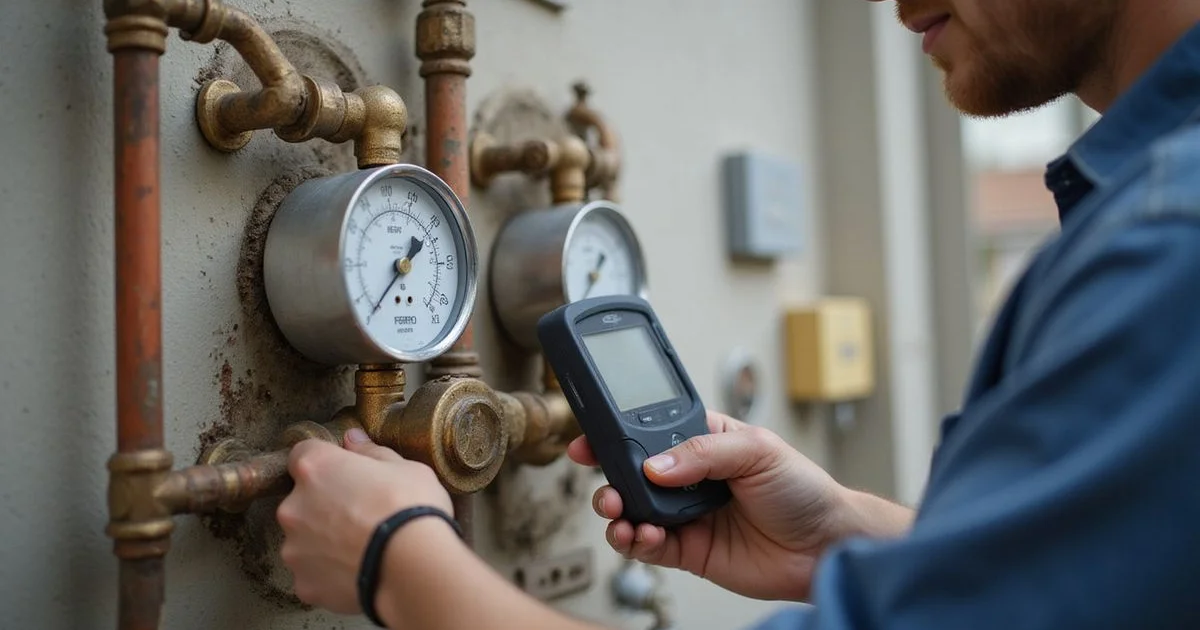
We measure your system’s static and dynamic pressure using a digital manometer before installation begins. A healthy system should maintain around 8 inches of water column under full load. According to the International Fuel Gas Code sizing tables, a half-inch pipe can only carry enough volume for a large tankless unit if the physical run is extremely short.
Here are a few standard rules of thumb:
- 1/2-inch line, single appliance, short run. This almost always needs upgrading to 3/4-inch for whole-home tankless performance.
- 3/4-inch trunk line with multiple appliances tee’d off. Simultaneous loads require professional testing to ensure safety.
- 3/4-inch dedicated line to the water heater. This setup usually provides adequate flow for most residential units.
- High-BTU condensing unit (199K BTU+). A massive 1-inch line might be necessary for long runs where the meter sits far from the unit.
Our installation teams provide clear cost expectations upfront. These upgrades add extra labor and material costs to your base project. For a step-by-step breakdown of how this work fits into the broader install day, see our tankless installation process guide.
Current estimated cost ranges for gas line replacements:
- Short run, accessible gas line replacement: $400 to $800
- Typical single-story home, moderate run: $800 to $1,400
- Long run, through finished walls or attic: $1,400 to $2,500+
We flag the gas line picture in the free virtual estimate. This gives you exact numbers before scheduling any work.
Why old B-vent doesn’t work for tankless
You cannot reuse old B-vent piping because tankless water heater gas line venting requirements demand materials built for extreme temperatures and highly acidic exhaust. The traditional galvanized double-wall pipe was sized exclusively for a standard tank’s gentle burn cycle.
We require completely new venting materials for nearly every installation to ensure your home meets current safety codes. High-efficiency tankless units operate entirely differently than older technology.
Tankless venting requires different engineering for three critical reasons:
- Temperature Extremes. Non-condensing tankless exhaust runs at well over 300°F at full burn. Condensing tankless exhaust runs cooler (under 140°F) but creates a hazardous liquid byproduct.
- Highly Acidic Condensate. The condensation inside high-efficiency exhaust pipes has a pH level between 3 and 5. This acidity aggressively corrodes traditional metal B-vent pipes, which creates dangerous carbon monoxide leak risks over time.
- Pressurized Flow Mechanics. Tankless units utilize induced-draft fans that forcefully push exhaust through the vent. Old B-vent relied completely on natural convection and heat rising, which cannot safely handle forced pressurized air.
Our technicians always plan for fresh venting paths as a mandatory part of the installation. Reusing the old B-vent path is technically possible only if you tear out the old pipe and install approved materials in its place.
PVC vs concentric stainless venting
Your choice between tankless venting pvc and concentric stainless steel depends entirely on whether you choose a condensing or non-condensing water heater. Condensing units use inexpensive PVC, while older-style non-condensing models require specialized stainless steel piping.
We strongly recommend condensing units for most US properties because they capture secondary heat for exceptional energy savings. Non-condensing units waste that heat and require far more expensive materials.
| Feature Comparison | Condensing Models | Non-Condensing Models |
|---|---|---|
| Typical Efficiency | High (0.93 to 0.98 UEF) | Lower (Around 0.81 UEF) |
| Exhaust Temperature | Cool (Under 140°F) | Very Hot (300°F+) |
| Venting Material | Schedule 40 Solid Core PVC | Concentric Stainless Steel |
| Installation Code | Highly flexible routing | Stricter clearance limits |
Codes across the US strictly require Schedule 40 solid-core PVC for condensing units. Standard cellular-core PVC is dangerous because the inner layers can warp or melt under sustained exhaust heat.
Our technicians strictly install solid-core materials to guarantee long-term safety. PVC installations utilize a two-pipe configuration, with one pipe pulling fresh intake air and the other pushing exhaust gas out.
The condensing combination of PVC venting is cheaper, highly efficient, and qualifies for programs like the SoCalGas rebate. The only technical reason to go non-condensing is if your specific installation location forces it. Certain tight vertical chases simply cannot accommodate the dual-pipe slope requirements of a modern PVC setup.
Short-run vs long-run venting
Venting costs scale directly with the physical length of the pipe and the number of directional turns required to reach the outside air. A straightforward exterior wall punch is the cheapest option, while navigating through attics or finished interior walls increases the labor significantly.
We calculate the exact equivalent vent length during the planning phase to guarantee the heater breathes properly. Every time a vent pipe turns a corner, it creates friction and restricts airflow.
Manufacturers strictly limit how far a pipe can travel. A single 90-degree elbow usually subtracts 5 to 8 feet from the total allowed vent distance. Top brands like Navien allow up to 65 feet of total venting using standard 2-inch PVC.
Our team will step up to larger 3-inch PVC if your home requires a longer run, which safely supports distances up to 150 feet.
Venting cost estimates based on complexity:
- Under 10 feet of straight run, single elbow: $400 to $700
- 10 to 25 feet, multiple elbows, partly through interior: $700 to $1,300
- 25+ feet, complex routing, through finished space: $1,300 to $2,000+
The cheapest installations feature exterior-wall mounts with a short horizontal vent. The unit simply punches straight through the wall to the outside air. The most expensive installations involve interior closet locations where technicians must carefully route piping through finished living spaces.
What we check during the estimate
Accurate pricing requires a thorough evaluation of your existing gas meter capacity, pipe sizing, and proposed venting route. We evaluate these core structural factors to guarantee your new system runs flawlessly without surprise upgrade costs.
When you send installation-day photos, our estimators specifically look for:
- Gas meter capacity. We check the physical data plate for the CFH rating to confirm the utility company supplies enough baseline volume for a tankless upgrade.
- Gas line to the existing water heater. We analyze the pipe size, overall condition, and any restrictive valves that might bottleneck fuel flow.
- Other gas appliances. We calculate the simultaneous load of your furnace, gas range, and dryer running at the exact same time as the water heater.
- Proposed unit location. We measure the physical distance to the gas source and the exterior wall to calculate the required pipe lengths.
- Venting path. We inspect for code-required clearances away from windows, doors, and fresh air intakes.
From those five concrete data points, accurate quotes for both the unit installation and required upgrades become possible. We would always rather over-prepare on day one than surprise you with hidden costs on day two.
Frequently Asked Questions
How do I know if my gas line needs upgrading?
Can I reuse my existing water heater venting?
How much does new venting add to the cost?
Related Guides
SoCalGas Tankless Water Heater Rebates Explained
SoCalGas tankless rebates typically run $600–$1,000. Here's eligibility, application steps, what we handle vs what you submit, and other CA utility programs.
Financing Options for Tankless Water Heater Installation
Financing turns a $5K–$9K tankless install into a manageable monthly payment. Common 0% promo plans, fixed-rate terms, and how to apply through our partner network.
Is My Home a Good Candidate for Tankless Water Heater Installation?
Find out if your Inland Empire home is right for tankless. Check fuel source, gas capacity, wall access, venting path, and household demand before requesting an estimate.
Tankless Water Heater Installation Cost in California
Real California tankless installation prices. First-time conversion: $5K–$9K. Tankless-to-tankless replacement: $3K–$5.5K. What drives the variation and how to read a quote.