Tankless Descaling and Flushing: What's Actually in a Service Visit
Step-by-step tankless descaling: isolate, drain, circulate descaler, flush, filter clean, inspect, test. Why DIY vinegar flushes underperform pro service.
We often see homeowners shocked when their premium water heater starts running cold after just a few years. Calcium buildup is the usual culprit, acting like an insulating blanket that blocks heat transfer.
This routine tankless water heater descaling flushing process fixes the issue directly.
Our team follows a strict 60 to 90 minute sequence to clear out this mineral damage. A professional flush restores efficiency and protects your expensive heat exchanger from premature failure. For the broader maintenance service, see our annual tankless maintenance overview. Not sure how often a flush is actually needed for your zone? Our tankless service interval guide breaks down cadence by Inland Empire water hardness.
The six-step descaling process
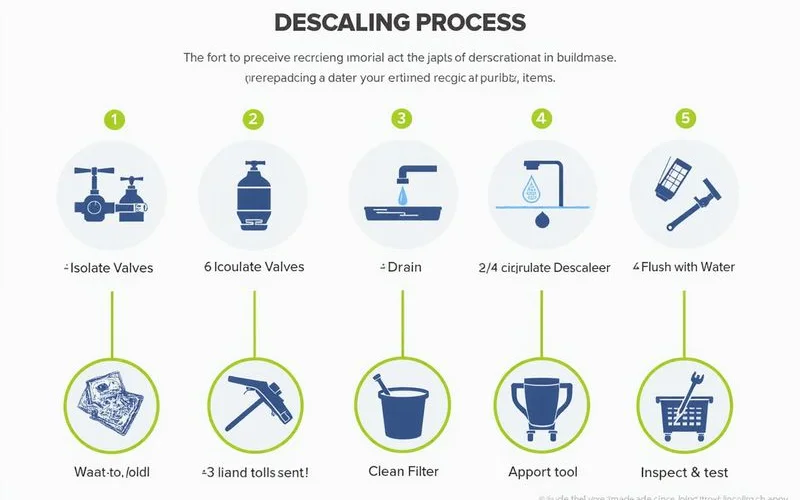
A professional tankless flush service systematically isolates the unit, pumps a heavy duty acid solution through the heat exchanger, and neutralizes the system. The entire descale tankless process requires specific valves, a submersible pump, and roughly an hour of circulation time.
Our technicians verify gas pressure and clean all intake filters before putting the unit back online. Skipping these precise steps often leaves hardened scale behind.
Step 1: Isolate the unit (10 minutes)
First, the plumber physically disconnects the heater from your home plumbing using dedicated isolation valves. We always verify that reliable valve kits from brands like Webstone or Watts are securely in place. Without these dedicated service ports, the unit cannot be flushed safely.
Adding them later extends the service time and increases your final bill. Our standard installation always includes these valves to save you money on future maintenance. The heater is now safely bypassed without moving the physical machine.
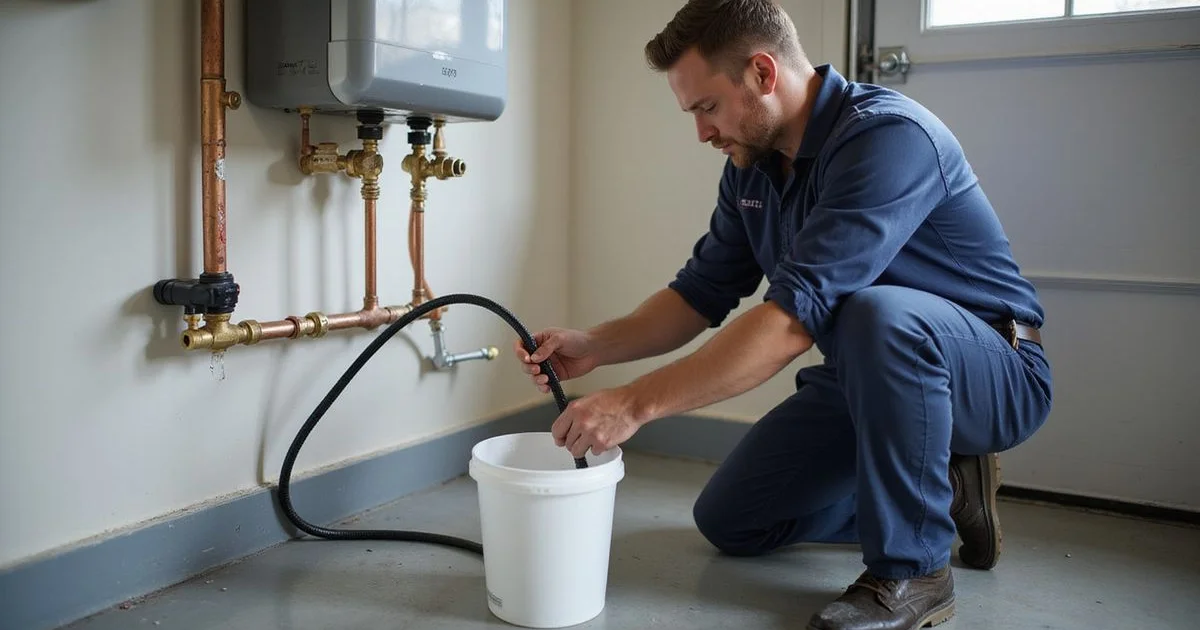
Step 2: Drain residual water (5 minutes)
The technician opens the drain spigot on the cold isolation valve to release the trapped water from the heat exchanger. This step typically pulls a half gallon to a full gallon of water into a bucket on the floor.
We often see loose white flakes of calcium carbonate settling at the bottom of the bucket right away. This immediate sediment drop provides a few key insights:
- It confirms that scale buildup is actively occurring inside the unit.
- It prevents loose debris from jamming the small electric pump later.
- It shows us the general severity of the hard water damage.
Our next move involves setting up the closed circulation loop.
Step 3: Connect descaling pump (10 minutes)
The pro flush kit consists of a small electric pump, two hoses, and a commercial descaling solution. We connect the pump to the cold inlet valve and run a return hose from the hot outlet back into the bucket. Standard maintenance requires a high quality liquid like Hercules Haymaker or Flow-Aide.
These professional formulas use citric or phosphoric acid to break down stubborn minerals fast. Our team avoids basic grocery store products because they lack the chemical strength needed for commercial heat exchangers. Turning on the pump creates a closed loop that continuously pushes the acid through the copper or stainless steel fins.
Step 4: Circulate descaler (45 to 60 minutes)
The solution circulates continuously for 45 to 60 minutes to dissolve thick mineral deposits off the internal components. We adjust this runtime based on how heavily scaled the unit is and your local water conditions. According to the U.S. Geological Survey, over 85 percent of US homes have hard water.
This hard water drops heavy calcium layers that require a full hour of chemical contact to break down. Our visual check of the bucket tells us exactly how much scale is dissolving.
The color of the liquid reveals the unit’s internal condition:
- Clear liquid at the start: The acid is just beginning to work.
- Milky cloudiness at 30 minutes: The heavy calcium is breaking down.
- Brown sediment at the end: The unit desperately needed this flush.
A completely clear bucket at the end means your water softener is working perfectly.
Step 5: Fresh water flush (10 minutes)
After dissolving the scale, the plumber drains the acid bucket and pumps fresh, clean water through the unit for ten minutes. We perform this crucial rinse to neutralize the system and protect the metal heat exchanger from lingering acid corrosion. Leaving acidic residue inside the pipes will eat away at the copper walls and cause expensive leaks.
The technician then disconnects the hoses and closes the drain spigots. Our final step here involves reopening the main isolation valves to reconnect your home plumbing. The heater is now back under normal water pressure.
Step 6: Inspect, clean filters, and test (15 to 30 minutes)
With the flush complete, the plumber cleans the internal filters and tests the gas pressure to ensure optimal performance. We pull the small mesh water inlet filter to wash away any trapped grit or scale fragments. A clogged filter here is a leading cause of low pressure error codes, like the Rheem P1 code.
The technician also verifies that the natural gas pressure reads correctly on a digital manometer. Our standard target is between 7 and 10.5 inches of water column for residential tankless units in the US.
During this final inspection phase, the technician completes several safety checks:
- Cleans the air filter on the combustion intake.
- Checks the venting clearances and condensate drain line.
- Confirms temperature stability and gallons per minute (GPM) at a nearby faucet.
- Generates a timestamped service record with the unit serial number.
We email this official documentation to you within 24 hours. Having this paperwork on file is mandatory to keep your manufacturer warranty completely valid.
Why DIY vinegar flushes fall short
Attempting a tankless flush service yourself with household vinegar usually fails to remove the deepest, hardest scale deposits. We strongly recommend professional descalers because they dissolve minerals at a much faster, safer rate. Three specific factors make a commercial service significantly more effective than a weekend project.
| Feature | DIY Vinegar Flush | Professional Service |
|---|---|---|
| Solution Strength | 5% Acetic Acid | 20 to 25% Citric or Phosphoric Acid |
| Duration | 20 to 30 Minutes | 45 to 60 Minutes |
| Scale Removal | Surface Layer Only | Deep, Hardened Mineral Buildup |
| Warranty Protection | Not Recognized | Certified Documentation |
Our plumbers use commercial formulas like Hercules Haymaker which are proven to be three times more effective than standard white vinegar. A weak 5 percent vinegar solution simply glides over the stubborn calcium carbonate layers without breaking them down. Running the pump for a longer period pushes the stronger acid deep into the internal fins.
We know that major brands like Rinnai and Navien require proof of annual maintenance to honor their 15 year heat exchanger warranties. A YouTube tutorial and a grocery store receipt will not satisfy a manufacturer claims department. Replacing a damaged heat exchanger out of pocket costs between 800 and 1500 dollars in the US. Our professional service record protects you from absorbing that massive repair bill.
What you can do yourself
The highest value action you can take between professional visits is manually cleaning the cold water inlet filter. We suggest checking this small mesh screen once a year to catch debris before it enters the heat exchanger. This quick step stops large grit from embedding in the pipes and creating flow restrictions.
Here is the exact method to clean your filter safely:
- Shut off the cold isolation valve completely.
- Unscrew the hand tightened cap to access the housing.
- Pull the mesh screen out carefully.
- Rinse the filter under clean tap water to clear the grit.
- Reseat the screen and tighten the cap securely.
Our team schedules full system visits across the Inland Empire, where local water tests often show extremely high calcium levels. Municipal water data proves that local hardness ratings easily exceed 250 parts per million. This aggressive mineral content makes an annual commercial flush absolutely essential for your system.
We provide fast scheduling, with most appointments available within a week. Annual plan members receive priority booking to keep their warranties perfectly intact.
Call our office today to schedule your service and protect your expensive equipment.